Showing posts with label DIY. Show all posts

Thursday, February 23, 2012

DIY Bulletin Board!

While out shipping with my bestie, Miss KT, we saw this bulletin board at Target and swooned.

Instead of dropping the $20, I thought, "Hey, I bet I can make that!"

First, I picked out a spot in the house where I'd like to hang my board and took some measurements. The wall was 13" wide so I thought 10" would make a good size. I went to Goodwill and looked for frame that would be 10" by whatever! And there was this little beauty for the low low price of $1.50


I then went to Ben Franklin and picked out some fabric! I'm in a very yellow mood lately (must be thinking about the Jamaican sun!).


The buttons are from Ben Franklin as well and I chose 1" grey colored gross grain ribbon from the dollar store.

First I hot glued some pillow stuffing (leftover from ring bearer pillows!) to the face of the frame for padding. It occurs to me now that I failed to take a picture of this step. DIY Blogger of the year, people, I know!

Then I cut my fabric out and layed it face down on the counter top (so the "inside" is up) and put the frame face down on top of that.

You can almost see the stuffing underneath!


The next part, Georgie helped me out so you might want to grab a friend for a 2nd set of hands. I pulled the fabric tight over the back of the frame and used a staple gun to secure the fabric to the wood. Having a wood frame was very helpful to the stapling process. If you had a metal frame, you'd probably have to use glue and it would much more difficult to keep the fabric as taught. After yous staple the first side (I started with the long sides) make sure you pull the fabric very very very very tight to the other size. This is where the 2nd set of hands helps. 

When it came to the short sides, I folded the fabric like I was wrapping a present and after I stapled, I cut the excess off all the way around.


Looks fluffy like a pillow! Now, time for the ribbons! I cut and layed out the ribbon in several different patterns and nothing felt quite right. I decided to stick closer to my inspiration and use a much thinner ribbon like the target version. So I ran up there to check out the original pattern and snap a pic, and buy some thinner ribbon. I just used gift wrapping ribbon but I would suggest buying something more heavy duty from Michael's because the stuff I used was very delicate. I did stick with the grey color though.


I just love the yellow and grey color combo, don't you?

:) Hopefully this is not my last "hey I can make that" post.


Tuesday, February 21, 2012

Frosted Glass Candle Holders!

Big shocker here, the following post is brought to you by, PINTEREST!

I had seen a picture of these candle holders many many times, but never actually repinned it. Therefore, this is a project that I did blindly, rather than follow a tutorial. Most of the time, I follow a tutorial and link back to that page during my post, but sometimes, I like to wing it! See how bad I can screw up without directions! This one seemed fairly straight forward so I jumped in!

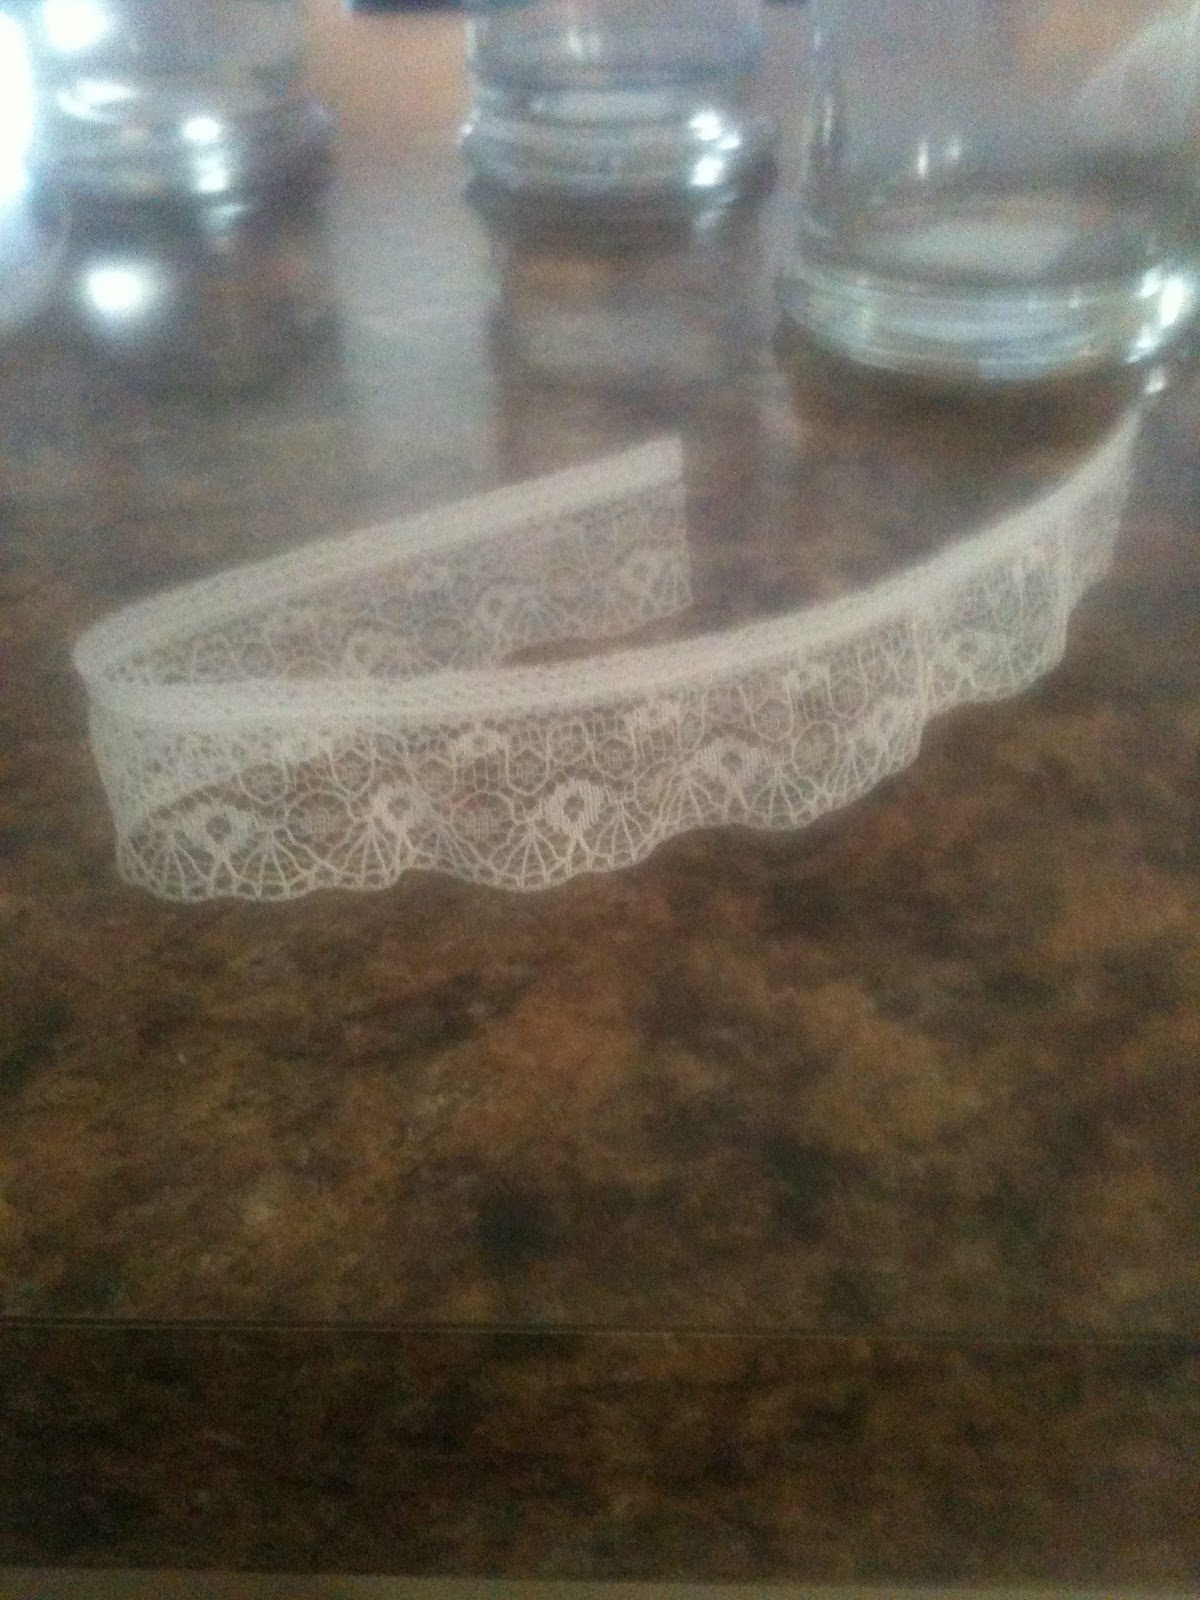
I decided to make 2 different styles of "Frosted Glass Candle Holders" One style with a rubber brand stripe look and one style with lace. I bought the vases and rubber bands at the dollar store! Then I got some lace trim from Ben Franklin!
The key to this project, frosted glass spray paint!

For the rubber banded holders, I just had a little fun arranging the different sizes and shapes of the bands on the glass.


For the lace covered, I had to do a little more planning. I needed to make sure the lace layed flat on the glass and the trim I bought was a bit pleated. I realized that I could cut off the top strip and the lace would lay flat on it's own.


Here are my lace vases ready to go....


Then I took my vases and paint headed out to the garage!


Georgie always taught me to spray about 6-8 inches back from the object and use small side to side motions.
The paint sprays on rather glossy but gets more frosted after drying time.

The next day....


Please bear with my ridiculous photography! I need a serious lesson from my fave photographer!


The rubber band style turned out really well, it's unique and funky but subtle at the same time. The lace variety is cute but not very noticeable. I'd love to redo them with a wider pattern lace, see what that looks like. Maybe I'll spray over the frost with glitter or something to see if that makes a difference!

Either way, I'd say a successful first run!

What do you think?


Thursday, February 9, 2012

Yarn Vases

I really love yarn. It's so soft and cozy, like a sweater. :) I have seen the "yarn bottles" posts all over Pinterest and really wanted to try them. The basic point is to cover beer bottles in yarn and use them for vases.

Would you believe that after repeated requests for my husband to drink bottled beer, he keeps only drinking canned beer! Completely unacceptable! I mean what is this world coming to when you can't get your husband to drink bottled beer for you?

Instead, of using beer bottles, I ventured off to Goodwill and picked up three miniature bud vases....

The purpose of these vases are to be decorations for an upcoming St. Patty's day party, and I just so happened to have some green yarn left over from my Christmas Yarn Wreath!!!I also bought a multicolored lighter green yarn, just to shake things up!


Turns out, wrapping yarn around a bud vase, especially one that is ribbed on the outside, is not very easy. I tried many ways to get started, it's a good thing I had lots of yarn and hot glue peels right off glass. :)

The winning method ended up being to stand the vase upside down, and tie the yarn as tight around as I could.

Then, I wrapped yarn around 5 times and pushed it down towards the first ring. The rhythm that worked was loop five times, bunch them down. Make sure to use your non-looping hand to hold the yarn down, that stuff is slippery.


Once I got midway down the neck, it went pretty smooth. Until I got to the wide bottom. I told you, yarn is slippery! Once I got to the point when the yarn would continuously slip off, I squeezed a round of hot glue as the very bottom and ran a circle of yarn around it, then glued and ran another. That usually made a nice surface between the neck and bottom to spin yarn until your hand falls off.


 I love the way they look like they are wearing sweaters! Sweater Vases!!!!

Now, I need to learn some new types of flowers to fill my vases, any suggestions?

***Two days after I wrote this post, I happen to see a new pin for yarn bottles and checked out the tutorial. Turns out, I'm kind of blonde :). If you cover the outside of the vase with Mod Podge, as you go along, the yarn sticks right to the vase, you can even use more than one color yarn on a vase this way! - In hindsight, it seems really easy and super obvious. If you don't have Mod Podge or don't want it to be permanent, my way still works, but it's more difficult. Rolling eyes at myself all day today.***

Wednesday, February 1, 2012

Teacup Candles!

Hello Everyone!

Today on the blog, I am showing my first Martha Stewart Craft!

During Christmas, I was looking for some handmade gifts to create and I found this tutorial for Teacup Candles! Then a few weeks later I happen to find some adorable mini teacups at Vinnies!


Here's what you need.

Materials:
Teacups
Candles to melt down
Candle Wicks
Wick Sustainers

Tools:
Wooden Skewers
Tongs
Double Boiler
Candy Thermometer

I wanted to get half used candles from vinnies or goodwill because I like recycling but I couldn't find them. I ended up buying $1 candles at Michael's. I also found wicks that were already in sustainers, so I bought them together instead of separately.


For a double boiler, I always use two pans on top of the other, because I don't own an actual double boiler

The first thing you do is melt the candles. You'll want to bring the water in the bottom pan to a boil then reduce to a simmer. When you place the candles in the pot and they start melting, use the candy thermometer to keep the temperature to around 185 degrees to prevent burning.


Use the tongs to remove the old wicks.


Bend the top of the wicks around the skewer. Then use the skewer to dip the wick and sustainer into the melted wax and place it in the bottom of the tea cup.


When the wax is fully melted, pour evenly into the cups leaving 1/2 to an inch at the top.


Then let them harden for about 1 hour.
After that time, you'll notice that they wax doesn't harden evenly. To even it out, Martha suggests to poke holes around the wicks about 1/16 of an inch and then fill the cups with more melted wax until almost full, and let set again.

Of course, I didn't have enough wax to do this, so I just ended up with uneven wax! But as is my style, I like them un-perfect!


My Grandma collects old teacups, so I'm sending them with my mom to Florida to give to her!

I hope she likes them!


I loved making candles, so I'll definitely be making more in the future.
I'm pretty sure I ruined my sauce pan by melting wax in it, so it's really the only use I have left for it!

:) Happy Crafting!!


Thursday, January 26, 2012

Coaster Tiles!

I have seen many posts on Pinterest and craft websites for Coaster Tiles!

Put simply, they are bathroom (or kitchen) tiles that you attach scrapbook paper and use for coasters!

When George and I bought this house, I looked all over the place for coasters and never found the right ones!

It was a sign! Now I can make my own! Even more of a sign, George removed some of the white back splash tiles from our kitchen last year when he put in the new window, and he STILL HAD THEM!

I thought I'd have to buy new ones, but crafting and recycling........ sign me up!


Since our tiles are used, there was some outstanding grout around the edges. Georgie so kindly scraped it off for me. :)


Since the coasters had a smooth shiny surface, I spent some time scuffing them up. I porous surface takes glue much better than a smooth one!

For the paper, I chose two different but coordinating patterns.


Cutting the paper to size was by far the hardest part. If you try this, no doubt it will be easy as pie for you! I am a bit special when it comes to cutting in a straight line! I ended up placing the tiles upside down and cutting, that way they'd be bigger and need to be trimmed rather than being too short.


After all the cutting, I used my favorite Mod Podge to glue the paper down to the tile. Make sure you get the edges really well!


After letting them dry for 20 minutes or so, paint the Mod Podge all over to seal them from the top.


Don't forget, it's completely normal for the Mod Podge to be white when first painted on, but it dries clear and shiny! When they are drying, watch for edges curling and hold them down for a few moments, if they do.

After they are dry, take them outside and spray with clear coat.


Make sure you get the top and the edges!

After that dries, cut some felt and attach it to the back of the coasters with a hot glue gun.


And then you're done!


Perfect coasters, just my style :)


Tuesday, January 17, 2012

End Table Refinishing!

Now I am not trying to say that I am a Goodwill expert but.... Hello, my name is Shawn and I am a Goodwill addict.

"Hi Shawn, welcome to the group." Thank you, thank you!

So, it seems to me that on most Sunday's furniture is 50% off at Goodwill....

A while back, during our usual every other Sunday or so trip my mom and I spotted this end table for only $5!!!


I called George and he said, buy it! My plan while at the store was to take it home and paint it a nice dark brown chocolaty kind of color. When George took one look at this table he had other plans!


He wanted to strip off the unknown layers of paint and stain it instead! I was up for the challenge!


To strip the layers of paint, you just bush on the stripper, and the paint begins to bubble like the shot on the right.


Then scrape off the layers of paint! You may need to scrape as much as you can, then paint on more stripper, then scrape and so on until you most of the paint off. After that, George sanded the wood down to a nice smooth surface. Now, I'm calling this a DIY project but in reality, you need someone who knows a little bit about stripping and sanding. George is an exceptional carpenter and he has every tool imaginable. If you asked him, I'm sure he would say the sander that he used was invaluable. It would have been much more difficult to sand it by hand with paper alone.


Here is the little table with 9 lives all ready for stain! This guy had lived many times before, underneath the taupe color that it was when I bought it, was a deep dark blue and a muted green! We chose a dark rich red stain to coordinate with the other pieces in our living room.

After he was finished staining it, I applied the first coat of clear poly and he scuffed and did 2 more coats!


And here's where this little guy lives now in our living room!
What do you think? I Georgie did a good job, hey? Not just with the staining but also by indulging my thrifting, upcycling, blogging ways! Thanks Georgie. :)